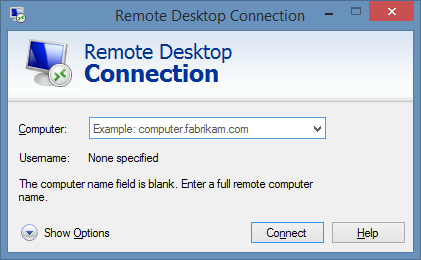
To connect to the hosted desktop, you will need to use the Remote Desktop Connection application that is pre-installed with the windows operating system.
Windows 7
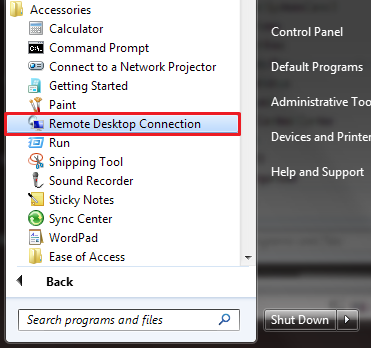
To open the Remote Desktop Connection on Windows 7. Go to Start, All Programs, Accessories, Remote Desktop Connection.
NOTE: You could also press the Windows + R keys to open the Run dialog, type mstsc.exe, and press Enter.
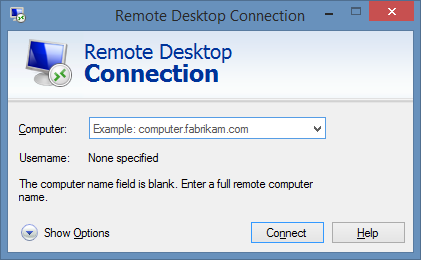
On the next window, you will need to enter the computer name, IP address or URL of the hosted desktop connection then click connect.
NOTE: This will have been given to you in a separate email, along with login details.
For Example: desktop.cloudheroes.com
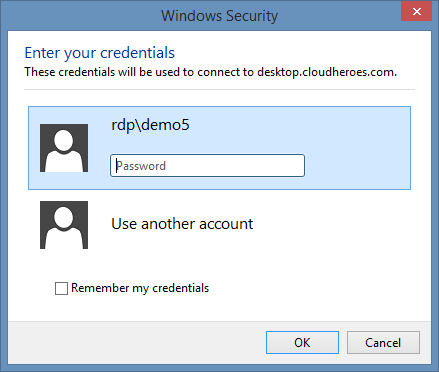
You will then need to enter the username and password for you hosted desktop account. Then click Connect.
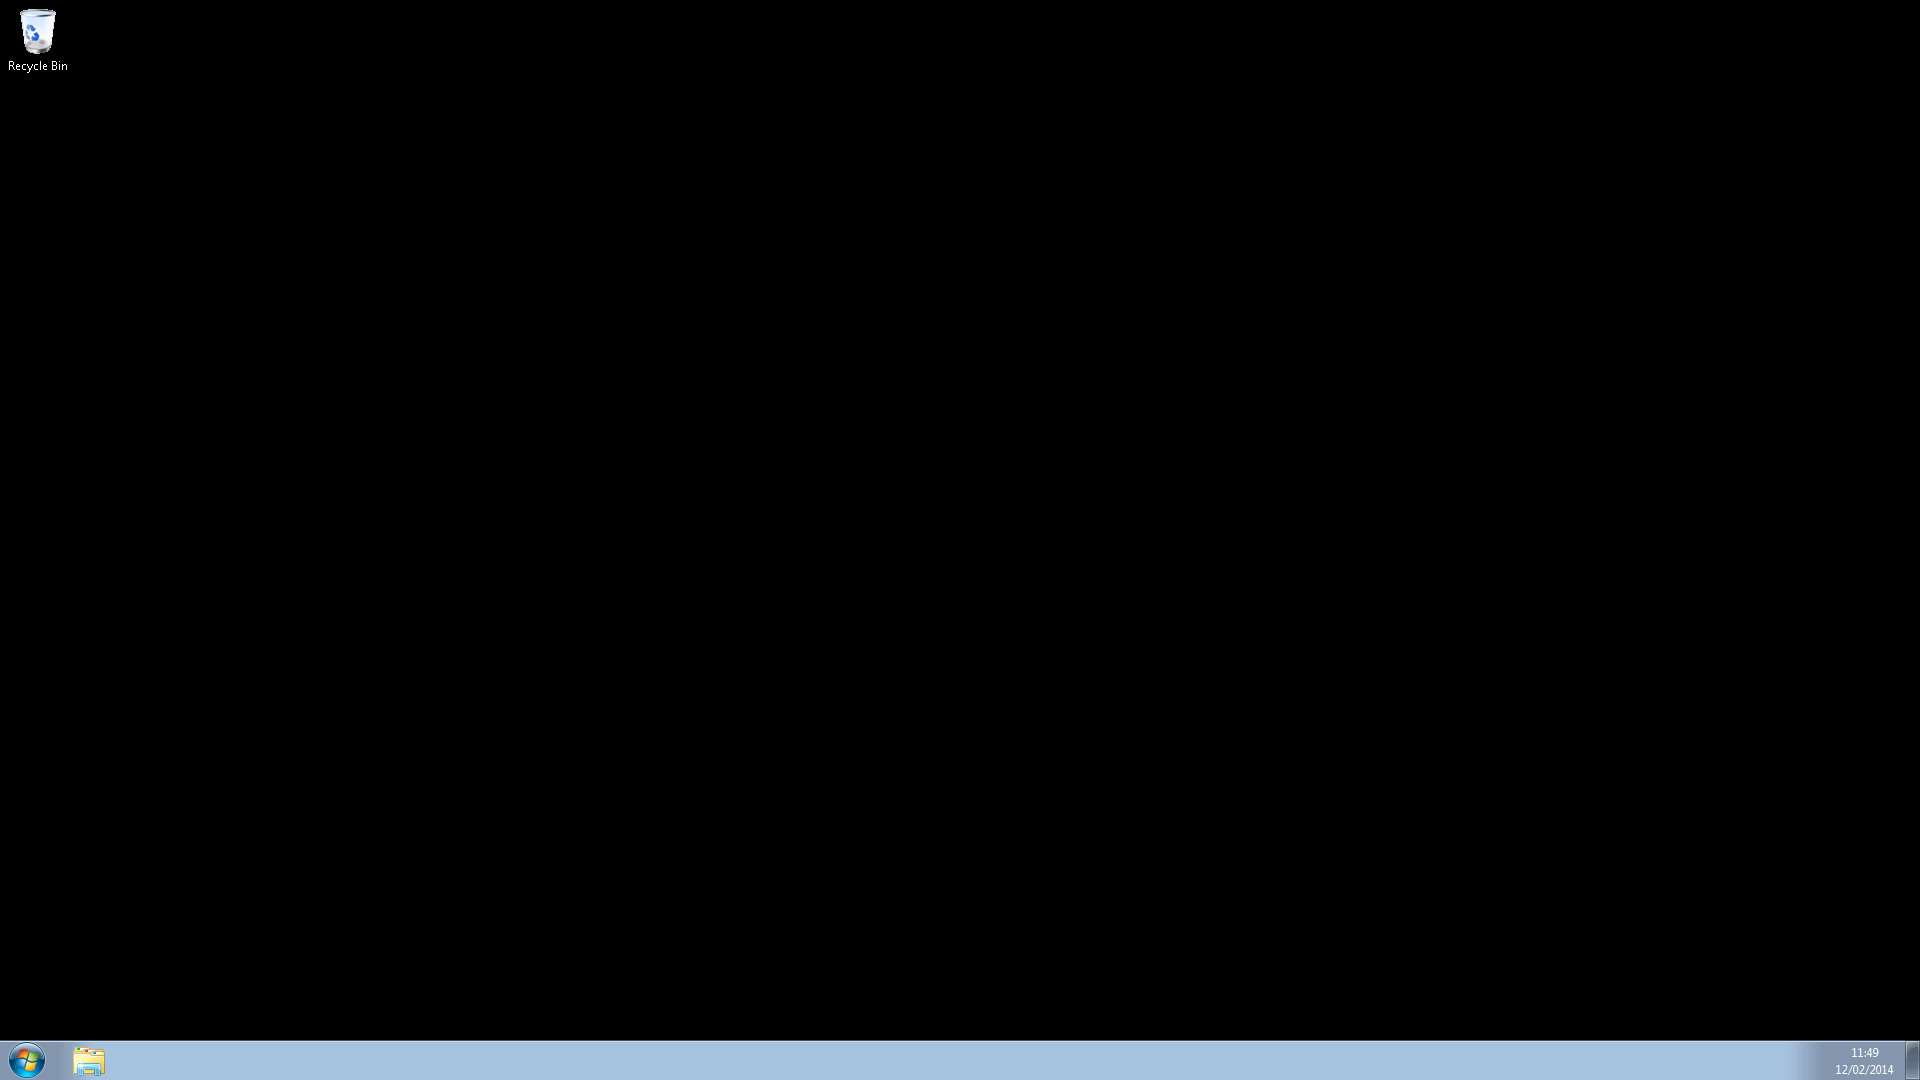
This will then take you to your Hosted Desktop.
Windows 8
To open the Remote Desktop Connection on Windows 8. Go to Start, then start to type Remote Desktop Connect and press Enter.
NOTE: You could also press the Windows + R keys to open the Run dialog, type mstsc.exe, and press Enter.
On the next window, you will need to enter the computer name, IP address or URL of the hosted desktop connection then click connect.
NOTE: This will have been given to you in a separate email, along with login details.
For Example: desktop.cloudheroes.com
You will then need to enter the username and password for your Hosted Desktop account. Then click Connect.
This will then take you to your Hosted Desktop.


