Step 1 – Download Microsoft Remote Desktop app
To connect to the Hosted Desktop, you will need to download the Microsoft Remote Desktop app for Mac OSX. You can download this app from the mac app store.
When the App Store has opened, in the search bar on the top right hand side. You will need to type Microsoft Remote Desktop, and then press search.
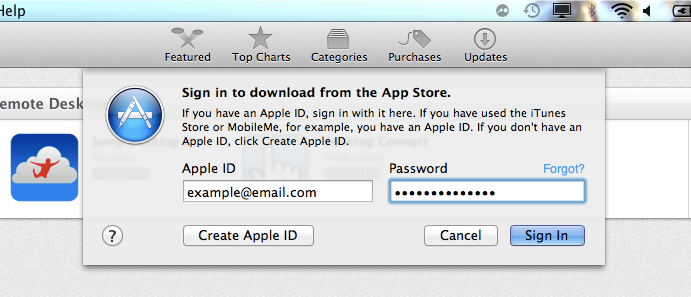
When the Search results return, you need to download the application called ‘Microsoft Remote’. If you click on free, then on Install App, it will then ask you for your Apple ID and password.
Once you have signed in, it will then start to download the application to your machine.
When it has finished downloading, you can then open the application with a single click on the icon.
Step 2 – Configure the connection
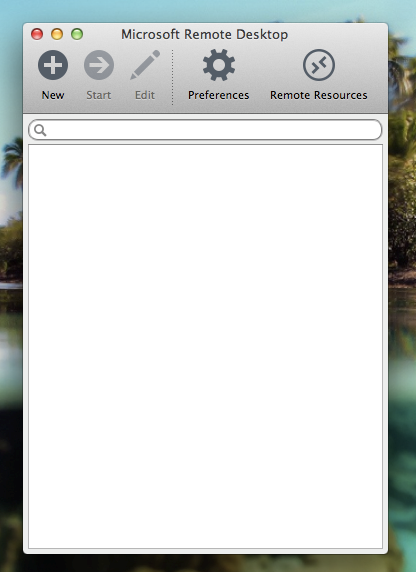
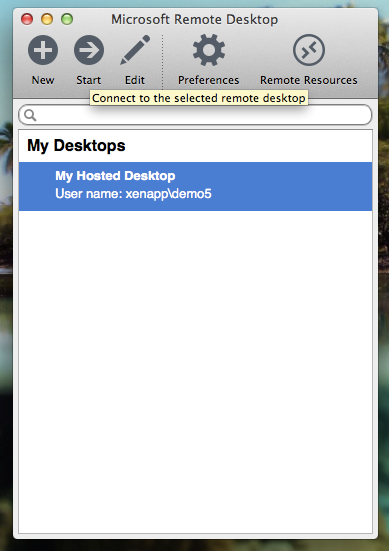
When the application opens, you will be presented with the screen below. This screen will usually show all the remote desktop connections that you have setup. Since this is the first time you have used it, it will be blank.
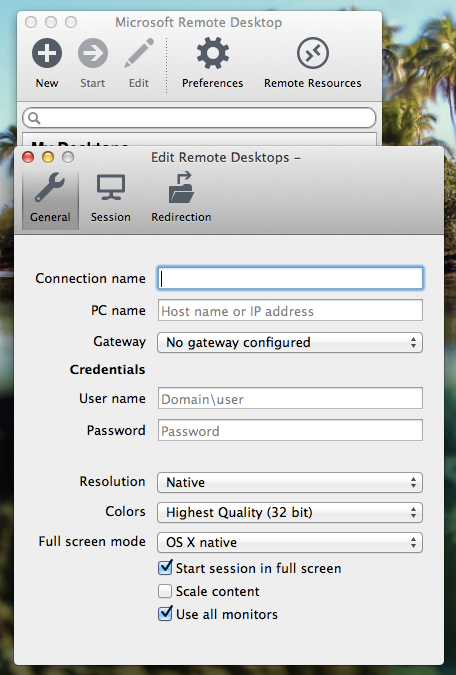
To add a new connection to Microsoft Remote Desktop, simply click the ‘New’ button which will then bring up another window asking for the connection details.
NOTE: You will have been provided with login details in a separate email.
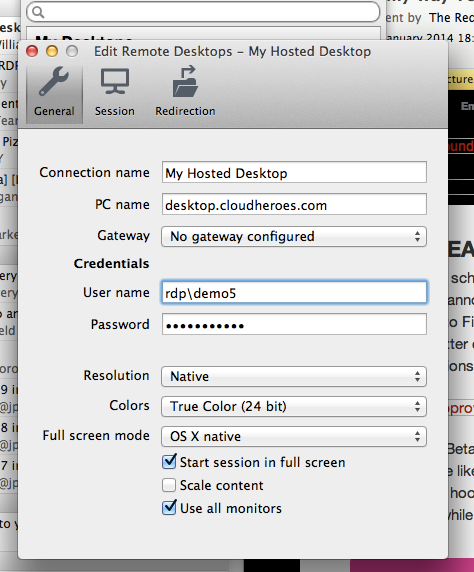
Enter the login details that where provided to you in the separate email in the corresponding boxes below.
For Example:
PC Name:
desktop.cloudheroes.com (this will be the Remote Desktop Connect Address)
Username:
RDP\demo5 (this will be the username)
Password:
Password1 (this will be the password provided)
Your window, should now look like the one above. To close and save the settings, you will need to click on the red circle in the top left corner. This will take you back to the connection page.
To start the connection, select the remote connection that you want to initiate, then press start.
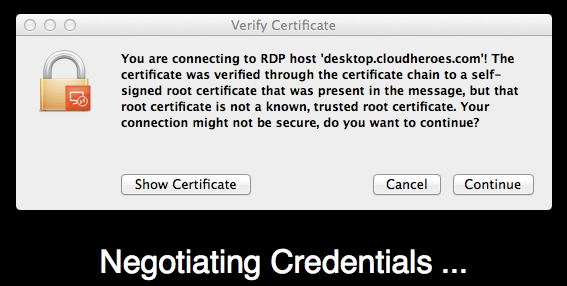
While connecting, it will ask you to confirm that you want to connect to this machine by accepting the certificate. To do this, click Continue.
You will then be presented with the Hosted Desktop.


