Signing In
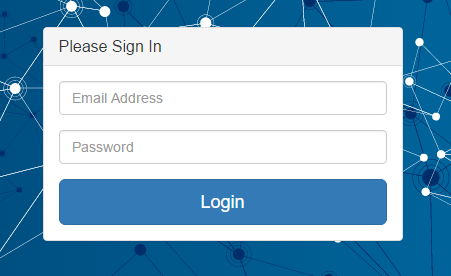
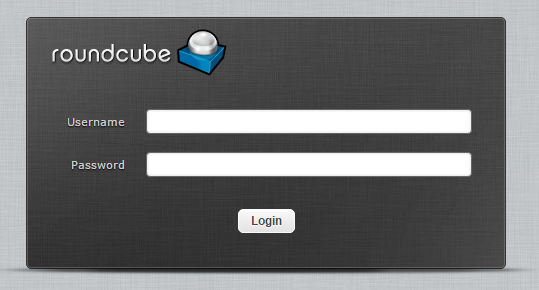
To access the customer portal, enter https://cp.myonlinecloud.co.uk/ in to your browser. You should see a page with the sign in box pictured below.
Navigation
There are a few features which can be accessed from any page in the customer portal.
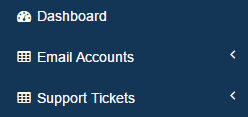 The panel on the left hand side of the screen contains links for quick navigation. You can expand and collapse the options by clicking the arrows.
 Clicking the cog on any page will allow you to Logout.
The Remote Support button, located in the top right, will take you to
a page where a technician can offer you remote assistance. You only
need to use this feature when a technician asks.
Accessing your mailboxes
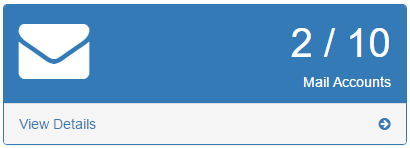
When first signing in you will see the Dashboard where you can access either your Mail Accounts or
Support Tickets. Click on the arrow in the blue box to manage your email accounts.
On the Email Accounts page, under the Mailbox column, you will see all email addresses that are
linked to your account. To the right of the Mailbox column, you can see the Usage of each mailbox
and several Actions you can take for each email.
If you have more than 10 mailboxes there will be more than one page by default. If you can’t see a
particular account, check for a second page or change the number of entries visible.
Creating a new Email account
To create a new email account, click Add Email Account located at the top right of the page.
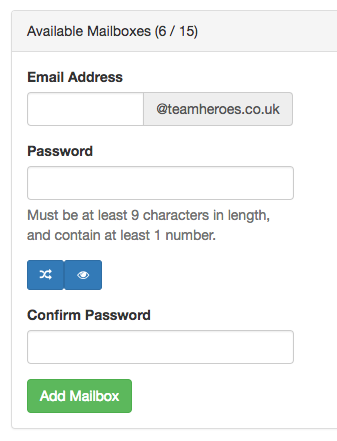
From here you can enter a new email address and create a password. Once finished, click Add
Mailbox to add this email to your list of mailboxes.
Actions for Managing Email Accounts
On the Email Accounts page, the Actions column offers you the following options for each email:
![]() Reset Password
Reset Password
![]() Setup Out Of Office
Setup Out Of Office
![]() Setup Forwarding
Setup Forwarding
![]() Setup Aliases
Setup Aliases
![]() Webmail
Webmail
![]() Delete Mailbox
Delete Mailbox
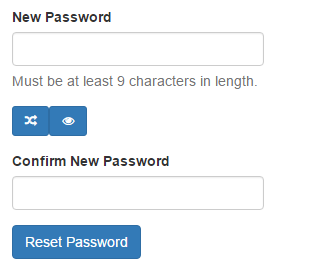
This will take you to a page where you can change a mailbox password (or reset if you have forgotten it).
![]() Pressing this button will generate a new random password which meets the security criteria.
Pressing this button will generate a new random password which meets the security criteria.
![]() This button will allow you to view the newly created password.
This button will allow you to view the newly created password.
Once you’re happy with the password, click the reset password button to save your new password.
Setup Out of Office
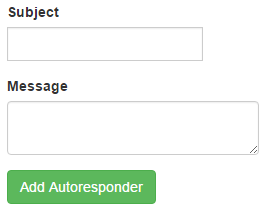
This page allows you to set an automatic response to incoming email messages; for those occasions when you are not monitoring your email account. As a rule, a response is sent to a unique address once a day.
Once you have entered your desired message, click Add Autoresponder to save your changes. Now,
whenever you receive an email to the corresponding account, the sender will receive your response
automatically. If you wish to update or remove the out of office response, click the icon again in the Actions menu.
Setup Forwarding
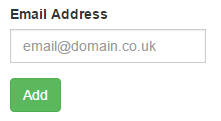
To setup forwarding of all incoming emails, type in the email address to receive copies of the messages and click Add. You can add more than one address. The mailbox will continue to receive copies of the forwarded emails.
You can also see a table of addresses you are currently forwarding to. Click the red X button in the table to remove the forwarding.
Setup Aliases
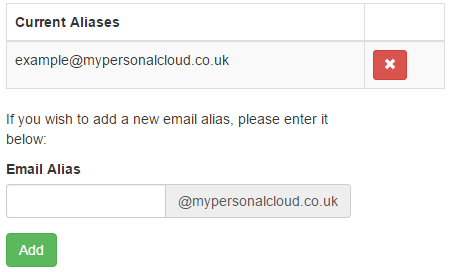
A single mailbox can have more than one address for receiving emails. For example, you may want
yourname@yourdomain.co.uk and sales@yourdomain.co.uk . You can have multiple aliases on a single
mailbox. Aliases will not be used for sending emails.
Webmail
From here, you will be able to sign in to your mailboxes and access your emails. Your Username (email
address) will be prefilled if accessed via the portal. You can also go directly via webmail.yourdomain.co.uk
Deleting Mailboxes
This will allow you to delete an unwanted mailbox, you will be asked for confirmation before the mailbox is deleted. Deleting a mailbox will also delete all email data within it. Only delete a mailbox when you are sure it is no longer needed.
Support Tickets
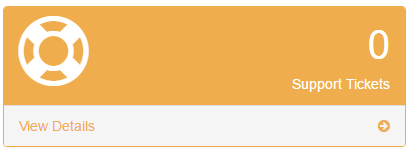
From the Dashboard, click the orange button to access your Support Tickets.
On this page, you will be able to see a table containing any support tickets that you have opened.
If you wish to open a new ticket, click the Open Support Ticket button in the top right of the page.
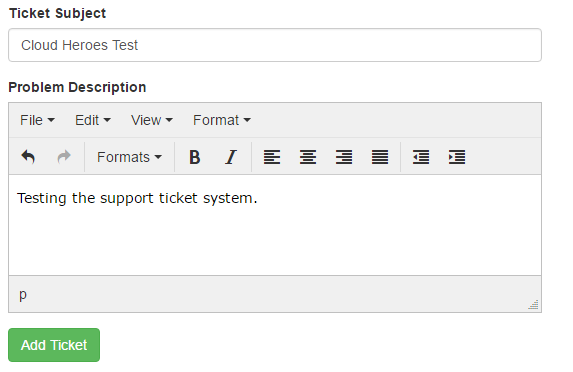
The Ticket Subject should
contain a brief overview of
what you need support with.
The Problem Description is
where you should give clear
details about the issue you are
having.
If you wish to add a new comment, enter it in to the box at the bottom of the page and click Add Update.
From this page, you may also close a ticket if you are happy that it is resolved. To do this, click the Close Support Ticket button in the top right.


