The following steps will teach you how to setup your Cloud Heroes E-Mail account within Windows Live Mail, using the POP3 protocol.
Step1
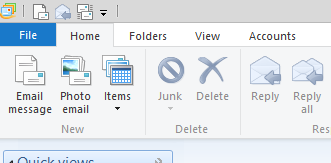
If this is the first time that you have opened Windows Live Mail, please proceed to step (X). Otherwise, from the tool bar at the top.
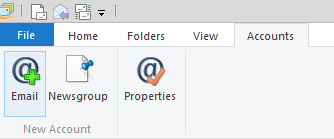
Select the Accounts tab and the click Email.
Step 2
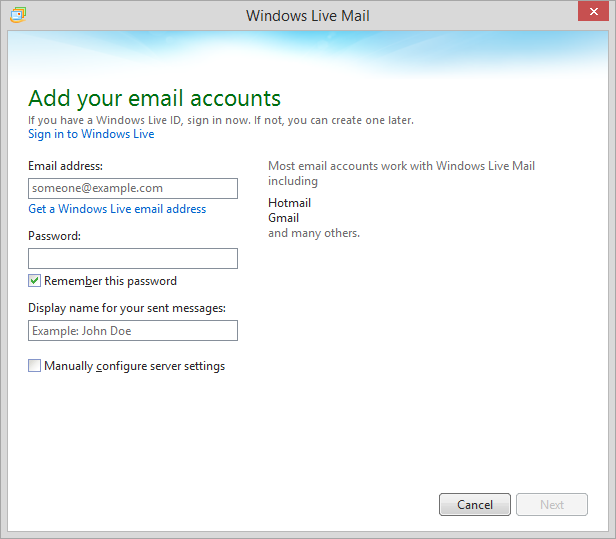
You should now see the below window.
Fill out the following information.
Email Address: The email account that you would like to setup.
Password: The password for the email account that you are trying to setup.
Display Name: This will be the name that shows up on your emails when they are sent.
Before you click Next, make sure that you select the Manually configure server settings check box.
Step 3
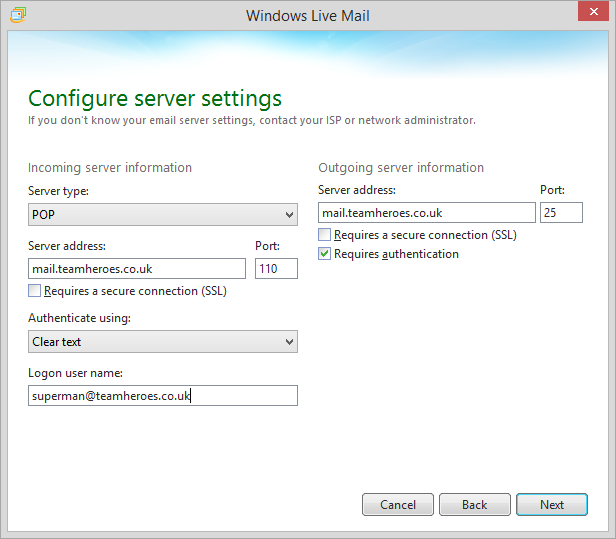
On the next page, you will be asked for the following information.
Server Type: Leave this set as POP. This will mean that all of your emails will be downloaded from the server and stored local on your machine.
Incoming Server Address: This is provided for you by Cloud Heroes and will follow the format mail.yourdomain.co.uk or similar.
Authenticate Using: Leave this set to Clear Text
Logon Username: Provided for you by Cloud Heroes and will usually be the same as your email address: name@yourdomain.co.ukor similar.
Outgoing Server Address: This is provided for you by Cloud Heroes and will follow the format mail.yourdomain.co.uk or similar.
You are going to want to make sure that Requires authentication is checked/enabled as this will help with your emails sending out of the server.
Your windows should now look like the below.
To add your account, click Next.
Step 4
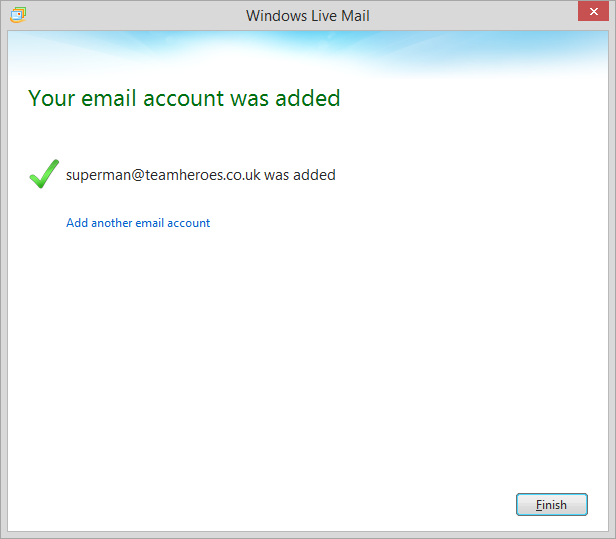
If the details that you have entered in the previous steps are correct. You will see the following message.


